


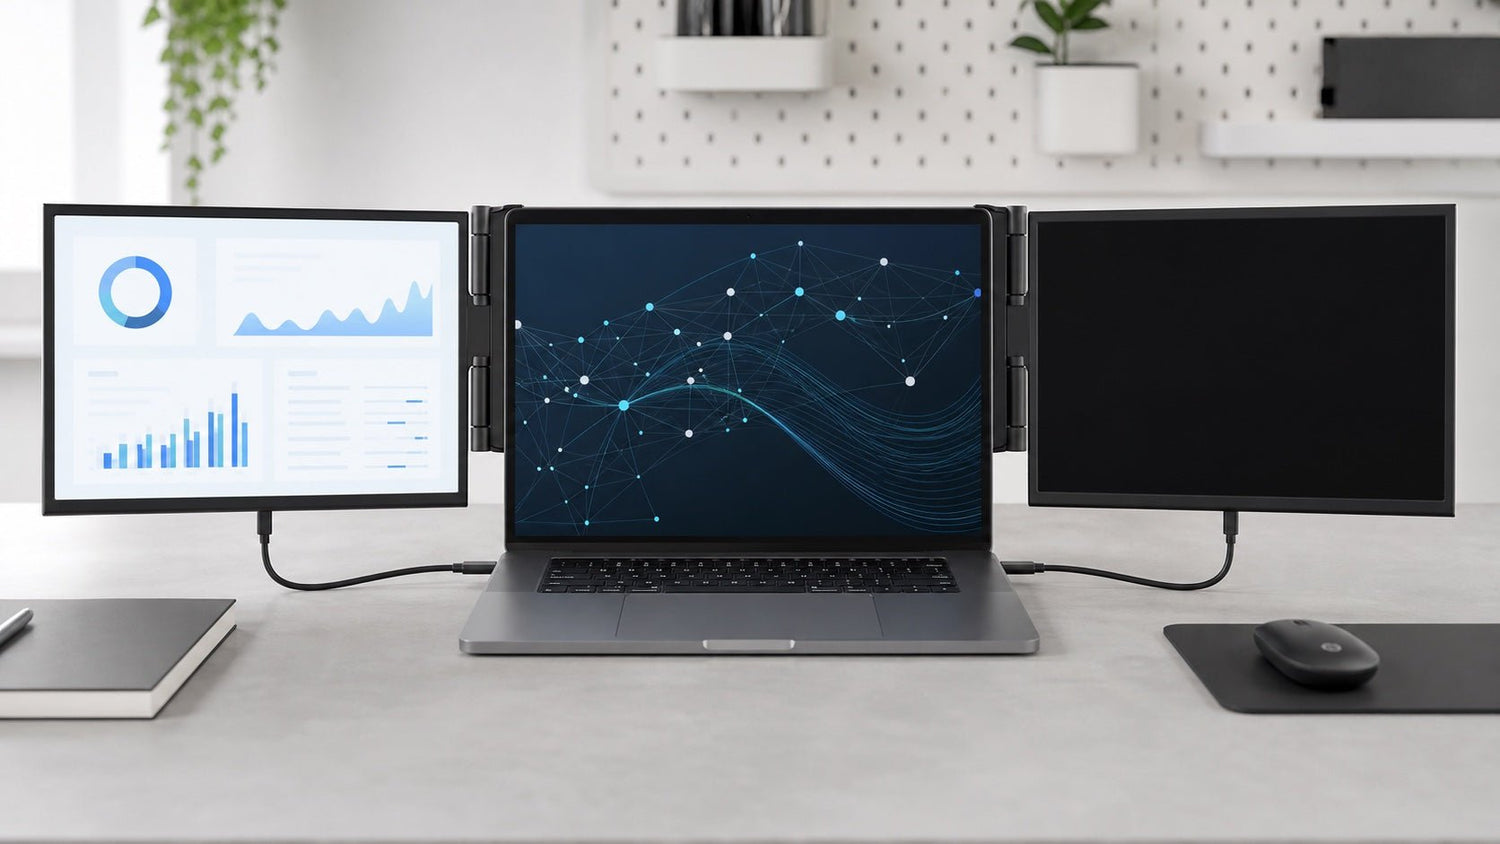
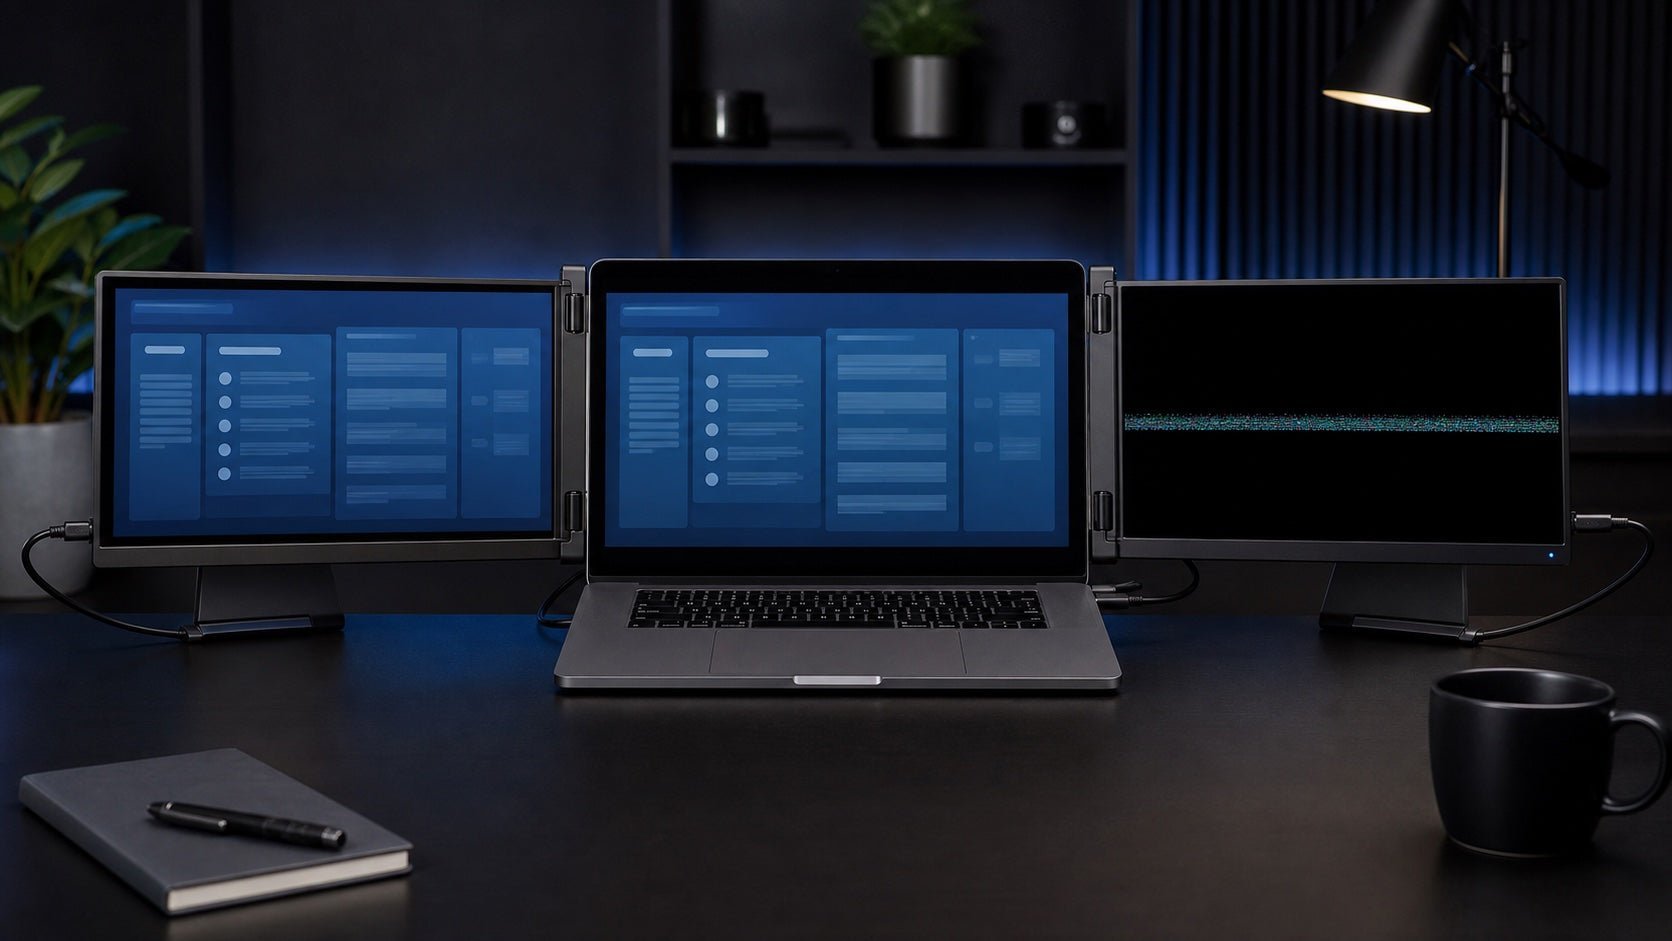
When one screen works but the other stays black, shows “No Signal,” or does not appear in display settings, the cause is usually limited to one side of the connection path. The most common causes are an incorrect cable layout, a USB-C port without video output, insufficient power, a damaged cable, the laptop’s external-display limit, or a problem with one screen or connector.
Start with a left-right cable swap. If the problem moves to the other screen, investigate the cable, adapter, or laptop port. If the same physical screen remains faulty, test that screen independently.
Quick Diagnosis: What Does the Symptom Mean?
| Symptom | Most likely cause | First test |
|---|---|---|
| Left screen works, but the right screen is black | Incorrect connection, unsupported laptop port, or failed cable | Swap the compatible left and right video connections |
| One screen shows “No Signal” | The screen has power but is not receiving video | Check the input source, cable path, and laptop port |
| The failed side changes after cables are swapped | Cable, adapter, or laptop output-path problem | Test the affected path with a known-good cable |
| The same physical screen remains black after swapping cables | Screen-side connector or hardware problem | Test that screen independently |
| Both screens work separately but not at the same time | Laptop display limit, insufficient power, software requirement, or bandwidth issue | Connect external power and check the laptop’s display support |
| One screen works only after external power is connected | Insufficient or unstable power | Use the model-recommended power connection |
| One side repeatedly disconnects or flickers | Loose connection, unstable power, or bandwidth problem | Bypass hubs and reconnect directly |
| The same screen fails on another compatible laptop | Screen-side hardware fault | Prepare the test results for INVZI Support |

Why Can One Side Fail While the Other Still Works?
The two extender screens may look like one device, but they do not always share the same video path.
Depending on the model, each screen may receive video through a separate USB-C connection, through a combination of USB-C and HDMI, or through a software-assisted USB connection. A separate cable may also be required for power.
This means the working screen proves only that one connection path is functioning. It does not confirm that the second cable, second laptop port, second video output, or failed screen is working correctly.
Connection requirements vary between models. Before troubleshooting, check the manual for your exact INVZI model and identify:
- Which connection sends video to the left screen
- Which connection sends video to the right screen
- Whether HDMI and USB-C must be used together
- Whether a USB connection provides video, power, or both
- Whether external power is required
- Whether display software is required
Do not copy the cable layout from a different extender model.
1. Identify What the Failed Screen Is Doing
Before reconnecting everything, observe the failed side carefully.
The screen has no power
Look for:
- No power indicator
- No backlight
- No startup logo
- No on-screen menu
- No response when brightness or menu buttons are pressed
This points toward a power cable, power source, screen-side connector, or hardware problem.
The screen shows “No Signal”
A “No Signal” message usually means the screen is powered but is not receiving usable video.
Possible causes include:
- The wrong input source
- A video cable connected to a power-only port
- A USB-C port without display output
- A charge-only USB-C cable
- An unsupported adapter or hub
- A loose video connection
The screen appears in display settings but stays black
When the operating system detects the screen, the physical connection may be functioning. Check whether the desktop is set to extend, whether the screen has been disabled, and whether its resolution or refresh rate is supported.
The screen works intermittently
If the image flickers, disconnects, or appears only after reconnecting the cable, suspect:
- An incompletely inserted connector
- An unstable power source
- A damaged cable
- A loose port
- An adapter or hub problem
- An unsupported display setting
Do not bend or force a connector to make the image appear. Stop testing if the port feels loose or damaged.
2. Confirm the Correct Cable Layout
Reconnect the extender according to its model-specific diagram.
Check each connection individually:
- Locate the video input for the left screen.
- Locate the video input for the right screen.
- Identify any power-only ports.
- Confirm whether HDMI is required for either side.
- Confirm whether both laptop USB-C ports must support video.
- Connect external power if the manual requires or recommends it.
- Remove optional docks, extension cables, and hubs during testing.
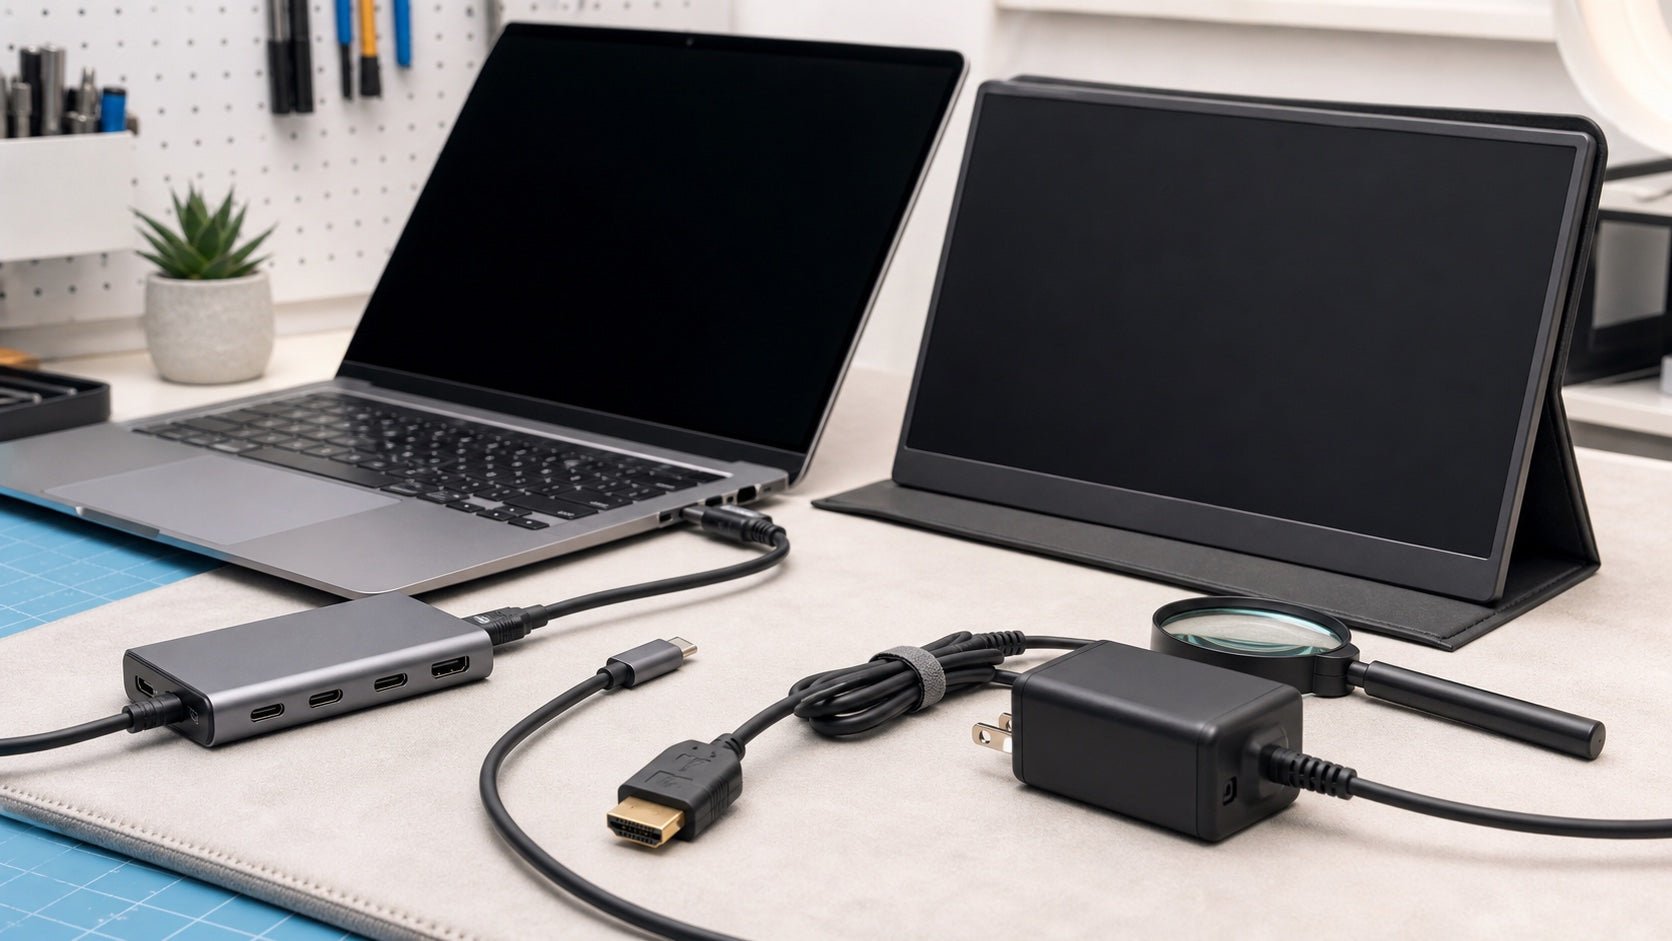
A common mistake is connecting a screen to a USB-C port that supports charging or data but not display output. USB-C describes the connector shape; supported functions depend on the laptop port, cable, and connected device. DisplayPort Alt Mode is one method that allows a compatible USB-C connection to carry video.
A screen can therefore receive enough power to turn on while receiving no video signal.
Use the cables supplied with the extender during initial testing. A USB-C cable that charges another device is not automatically suitable for display output.
3. Perform a Left-Right Cable Swap Test
The cable swap is the fastest way to determine whether the problem follows the connection path or remains with the physical screen.
Before swapping the connections
Only swap connections that the model manual identifies as equivalent.
Do not interchange:
- HDMI and USB-C inputs
- A power-only port and a video input
- USB-C ports with different functions
- Cables that have different specifications
Save your work and disconnect the extender before changing the cable layout.
How to run the test
- Label the connection feeding the working screen as Path A.
- Label the connection feeding the failed screen as Path B.
- Disconnect both compatible video paths.
- Connect Path A to the screen that was not working.
- Connect Path B to the screen that was working.
- Restore any required external power.
- Turn on both screens and observe the result.
How to interpret the result
The problem moves to the other screen
The physical screen is probably not the cause. The fault is following Path B.
Check:
- The cable
- The laptop port
- The HDMI adapter
- The USB-C adapter
- The dock or hub
- The selected input
- The video capability of the laptop port
Replace one component at a time so that you can identify the failed part.
The same physical screen remains black
The connection path may be working, but the screen-side input or internal hardware may be faulty.
Test the failed screen independently using the exact cable and laptop port that successfully operated the other screen.
Both screens begin working after reconnection
One cable may not have been fully inserted. Reconnect each end firmly and monitor the setup for further disconnections.
If the problem returns when the laptop or screen is moved, inspect the cable and ports for looseness or damage.
Both screens work independently but not together
This result usually points away from a failed screen. Investigate:
- The laptop’s maximum supported external-display count
- Insufficient power
- The required connection architecture
- A missing display driver or application
- Resolution or refresh-rate bandwidth
- A dock or adapter that cannot create two independent outputs
4. Test Each Screen Independently
Independent testing separates a screen problem from a connection problem.
When the product design allows it:
- Disconnect both extender screens.
- Connect only the left screen through a known-good video path.
- Confirm that it displays the desktop correctly.
- Disconnect the left screen.
- Connect only the right screen through the same cable and laptop port.
- Use the same power source and display settings.
What the results tell you
| Independent test result | Likely conclusion |
|---|---|
| Both screens work through the same path | The screens are probably functional |
| Only one screen works through the same path | The failed screen or its input is suspect |
| Neither screen works through one laptop port | That port may not support video or may be faulty |
| Both work alone but not together | Check display limits, power, software, and bandwidth |
| Both work directly but not through a hub | The hub, adapter, or connection topology is suspect |
This test is more reliable than randomly changing several cables, ports, and settings at once.
5. If Both Screens Work Separately but Not Together
When both screens operate independently, replacing a screen is unlikely to solve the problem. Focus on the laptop and the simultaneous connection.
Check the laptop’s external-display support
A laptop can have multiple physical ports without supporting the same number of independent external displays.
Display support can depend on:
- The exact laptop model
- Processor or graphics hardware
- Operating system
- Whether the built-in laptop screen remains active
- Native video-output limits
- The dock or adapter architecture
- Whether the setup uses DisplayLink
For a Mac, Apple recommends checking the exact model’s Display Support or Video Support specifications because supported display counts vary by model.
For a Windows laptop, check the manufacturer’s specifications for the complete model number rather than relying only on the processor family or number of ports.
Connect stable external power
Insufficient power may cause one side to:
- Stay off
- Flicker
- Restart
- Disconnect when brightness increases
- Work only after another USB device is removed
Use the power arrangement recommended for the exact extender model. During testing:
- Connect power directly rather than through an unpowered hub
- Use the supplied or recommended cables
- Disconnect unnecessary USB accessories
- Test with both screens at moderate brightness
- Avoid guessing the required charger wattage
If external power immediately restores the failed side, the original power path was probably insufficient or unstable.
Reduce temporary display demands
As a diagnostic step, use conservative display settings on both extender screens:
- Select the model-recommended resolution
- Select a standard supported refresh rate
- Temporarily disable HDR
- Disable variable refresh rate during testing
- Avoid high-resolution adapters or docks with unclear bandwidth limits
If both screens begin working, increase the settings one at a time until the limiting factor becomes clear.
Determine whether the setup uses DisplayLink
DisplayLink applies only to products or connection paths designed to use it. It should not be installed as a general fix for every USB-C display problem.
A DisplayLink-based setup requires compatible hardware and software. On macOS, DisplayLink Manager may also require Screen Recording permission so that it can send displayed content to the connected device.
For a detailed explanation, see how native USB-C video differs from DisplayLink.
6. Check Windows or macOS Display Settings
Keep this step focused on the failed side. If neither extender screen is detected, use INVZI’s broader external-display detection checks.
Windows
Open:
Settings > System > Display
Then:
- Select Identify to match the numbered displays to the physical screens.
- Find Multiple displays.
- Select Detect if the missing screen is not listed.
- Confirm that Extend these displays is selected.
- Press Windows key + P and choose Extend.
- Select the failed display and review its resolution and refresh rate.
- Reinstall or update the graphics driver from the laptop manufacturer when necessary.
Microsoft documents the Identify and arrangement controls in Windows Display settings and recommends selecting Extend when troubleshooting external monitors.
macOS
Open:
Apple menu > System Settings > Displays
Then:
- Check whether both extender screens appear.
- Confirm that the desktop is extended rather than mirrored incorrectly.
- Hold the Option key to reveal Detect Displays, where available.
- Reconnect the missing screen.
- Check the selected resolution and arrangement.
- Confirm that the Mac supports the required external-display count.
- If the model uses DisplayLink, verify that DisplayLink Manager is running and has the required permissions.
Apple documents the Option-key method for revealing Detect Displays and recommends checking the cable, port, model specifications, and display documentation.
7. Test Another Compatible Laptop
A second-computer test can separate an extender fault from a laptop compatibility problem.
Before testing, confirm that the second laptop supports the extender’s required connection method. Then:
- Use the same known-good cables.
- Connect any required external power.
- Test each screen independently.
- Test both screens together.
- Record whether the problem remains with the same physical screen.
If both screens work on the second computer, investigate the original laptop’s video ports, display limit, settings, driver, or software permissions.
If the same screen fails on two compatible computers through a known-good connection, screen-side hardware becomes the more likely cause.
Signs That One Screen May Have a Hardware Problem
Contact INVZI Support when the same physical screen continues to fail after controlled testing, especially when:
- It has no backlight or power response
- It fails through a connection that operates the other screen
- It fails with more than one known-good cable
- It fails on more than one compatible laptop
- Its connector is visibly loose or damaged
- The image changes when the connector is gently reseated
- It shows persistent lines, distortion, or repeated blackouts
- The housing shows impact or liquid damage
Do not open or disassemble the screen. Internal repair attempts can create additional damage and make diagnosis more difficult.
Information to Prepare for INVZI Support
Providing complete test results can reduce repeated troubleshooting.
Collect:
- Exact INVZI model name
- Laptop brand and complete model number
- Processor or chip, if known
- Operating-system version
- A photo of the complete cable layout
- Cable and adapter details
- Whether the failed screen receives power
- Whether it shows “No Signal”
- Whether it appears in display settings
- Whether the problem moved during the cable-swap test
- Results from testing each screen independently
- Results from another compatible laptop
- A short photo or video showing the fault
- Order information when warranty assessment is required
Connection methods differ across product designs. Users evaluating a different setup can compare INVZI multi-screen configurations, but confirm laptop compatibility and connection requirements before changing products.
Final Troubleshooting Checklist
Before requesting support, confirm that you have:
- Followed the manual for the exact extender model
- Identified the video and power connections for each side
- Used video-capable cables and laptop ports
- Swapped only equivalent left and right connection paths
- Recorded whether the problem followed the cable
- Tested each screen independently
- Connected stable external power where required
- Checked the laptop’s external-display limit
- Reviewed Windows or macOS display settings
- Checked DisplayLink only when the model uses it
- Tested another compatible laptop
- Collected photos and test results for support
Frequently Asked Questions
Why does only one screen work on my dual-screen laptop extender?
The most common causes are an incorrect cable layout, a USB-C port without video output, insufficient power, an unsupported external-display count, or a failed cable. Start by swapping the compatible left and right video paths. Whether the problem moves or remains with the same screen will identify the next test.
Can a USB-C port power one screen without sending video?
Yes. Power and video are separate USB-C capabilities. A laptop port or cable may supply enough power to turn on a screen without supporting the required video signal. Check the laptop’s specifications for display output and use a cable confirmed to support video.
What does it mean when the problem moves after swapping cables?
A moving problem usually indicates that the physical screen is functional. The fault is following the cable, adapter, laptop port, hub, or other part of that connection path. Test each component separately with a known-good replacement.
What does it mean when the same physical screen remains black?
If the same screen stays black after the compatible connection paths are swapped, test it independently through the connection that operated the other side. If it still fails, its input connector or internal hardware may require service.
Why do both screens work separately but not together?
The laptop may not support two additional native displays through the selected ports. Other possible causes include insufficient power, a missing DisplayLink requirement, unsupported display settings, or a hub that does not provide two independent outputs.
Can insufficient power affect only one side?
Yes. Two active screens may require a more stable power path than one. Depending on the model, insufficient power can cause one screen to stay off, flicker, disconnect, or work only at reduced brightness. Test the model-recommended external power connection.
Do I need DisplayLink for both screens to work?
Only when the extender or connection design uses DisplayLink. Native HDMI or video-capable USB-C connections may not require separate display software. Check the exact model manual before installing a driver or application.

Leave a comment
This site is protected by hCaptcha and the hCaptcha Privacy Policy and Terms of Service apply.