


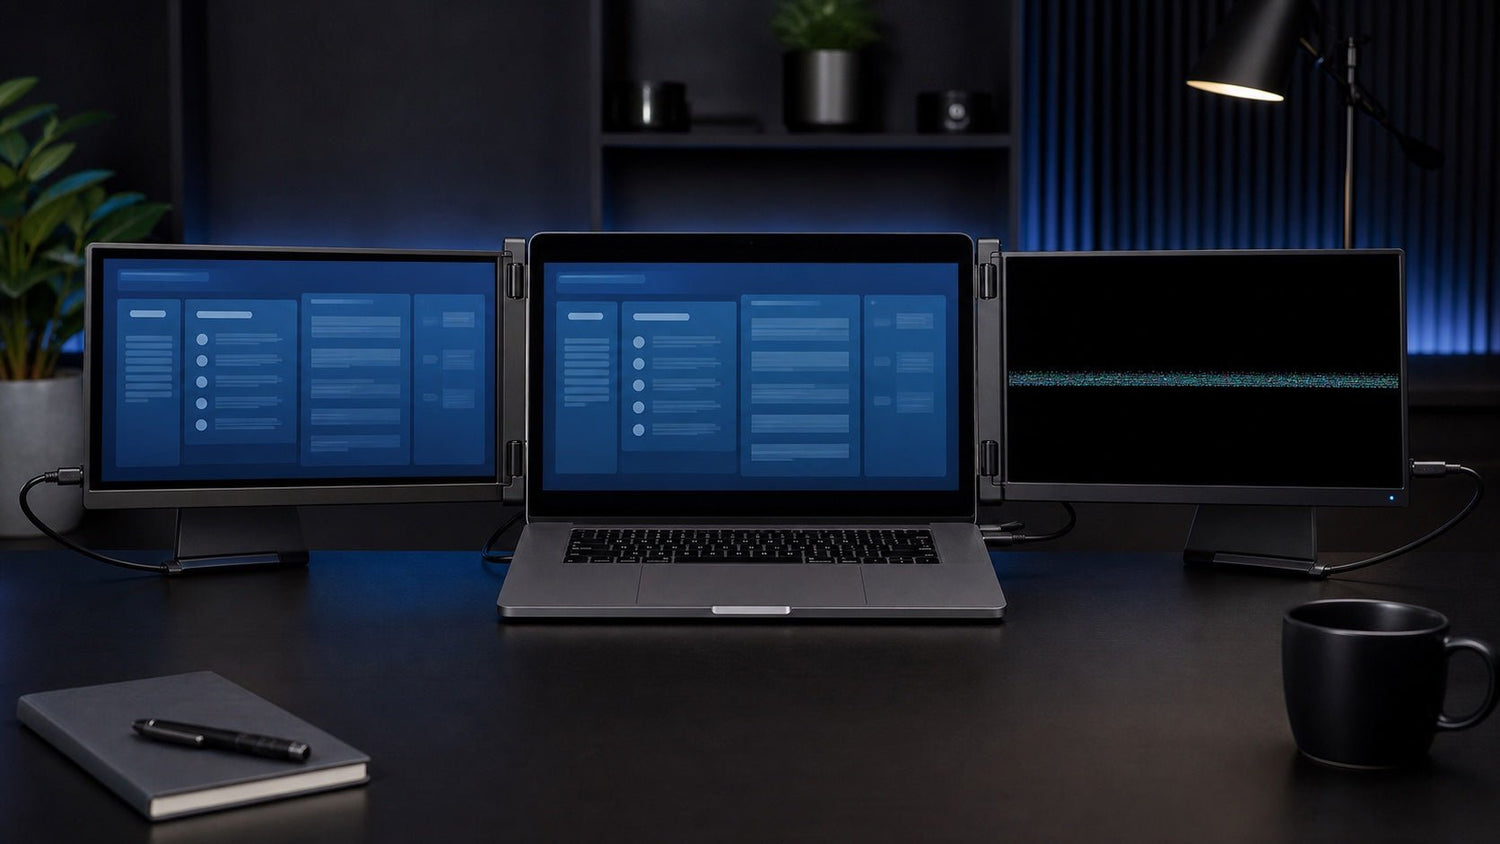
Laptop screen extender flickering usually means that the display is receiving an unstable power supply, video signal, or data connection. A loose cable, insufficient USB power, an overloaded hub, incompatible display settings, a driver issue, or sleep and wake behavior can all cause an extender to flash, disconnect, restart, or briefly go black.
The fastest way to find the cause is to simplify the setup and test one variable at a time. Start with a direct connection, stable power, the correct cables, and standard display settings before changing drivers or assuming the screen has failed.
This guide focuses on intermittent instability after the screen extender has already displayed an image. If the extender has never been recognized, remains permanently blank, or does not appear in the operating system, use INVZI’s guide to troubleshoot a laptop screen extender that is not detected.

Quick Answer: Why Does a Screen Extender Flicker or Go Black?
A screen extender can flicker, disconnect, or temporarily go black when part of the display connection cannot remain stable. The most common causes are inconsistent power, a damaged or unsuitable cable, a hub sharing too much bandwidth, unsupported display settings, graphics-driver instability, or a connection that does not recover correctly after the laptop wakes from sleep.
Begin by connecting the extender directly to the laptop, providing any power required by the model, and returning the display to its recommended resolution and refresh rate.
Identify the Exact Symptom First
Flickering, disconnection, and temporary black screens may look similar, but they can point to different parts of the connection path.
| Symptom | What It May Indicate | Best First Test |
|---|---|---|
| Rapid image or brightness flicker | Marginal power, cable instability, or display-setting conflict | Lower the brightness and confirm stable power |
| Screen goes black for one to three seconds, then returns | Temporary signal loss or display-link renegotiation | Reseat the cable and test a direct connection |
| USB disconnect sound followed by reconnection | USB cable, port, power, hub, or software instability | Remove the hub and test another compatible port |
| Flickering starts after the laptop wakes from sleep | Sleep/wake initialization or power-management behavior | Restart the laptop and reconnect the extender |
| The display is stable directly but unstable through a hub | Shared power, bandwidth, or hub compatibility | Test the extender without the hub |
| The display restarts when brightness is increased | The available power path may be insufficient | Reduce brightness and connect the recommended power source |
| Flickering begins after changing the refresh rate | The selected display configuration may be unstable | Return to the recommended display settings |
| Normal cable movement causes the screen to disconnect | Loose connector, damaged cable, or port wear | Stop moving the connector and inspect the connection |
These symptoms are clues rather than definitive diagnoses. Use them to select the first test, then change only one part of the setup at a time.
Before Troubleshooting, Check the Connection Requirements
Connection requirements can vary between INVZI models. Depending on the product and laptop, the setup may use native USB-C video, separate video and power connections, or display software.
Before replacing cables or installing software, confirm three details in the manual for your exact INVZI model:
- Which ports carry the video signal?
- Is separate external power required or recommended?
- Does the connection use native video output or dedicated display software?
Do not copy the cable arrangement from another screen extender model. Two products that look similar may use different ports, software, or power paths.
Run This 10-Step Isolation Test
Use the following sequence before making advanced software changes.
Save your work
A display may disconnect or restart during testing. Save open documents and close any work that could be affected.
Disconnect unnecessary accessories
Remove external storage drives, webcams, capture devices, network adapters, and other USB accessories that are not required for the test.
Bypass optional hubs and docks
Connect the extender directly to the laptop whenever the product and laptop support a direct connection.
Connect stable power
Connect the laptop charger and any external power source required or recommended for the extender.
Use the recommended cables
Use the cables supplied with the product or known-good replacements that support the required power, data, and video functions.
Reduce screen brightness temporarily
Use moderate brightness while testing. If the display becomes stable at a lower brightness, investigate the power path before changing software.
Return to standard display settings
Select the display’s recommended resolution and refresh rate. Avoid testing high-bandwidth settings until the connection is stable.
Restart the laptop
Use a full restart rather than sleep and wake. This resets the graphics, USB, and display connection states.
Test another compatible port or computer
When available, test another laptop port that supports the required connection method. A second compatible computer can help separate a laptop-specific problem from an extender problem.
Record what changed
Note whether the issue stopped, became less frequent, or followed a particular cable, port, screen, or computer.
Do not replace the cable, change the port, adjust the refresh rate, and reinstall the driver at the same time. If several variables change together, you will not know which change affected the result.
1. Check for Unstable or Insufficient Power
A portable multi-screen setup may receive power from the laptop, an external adapter, or both. If the available power becomes unstable, the screen may flicker, dim, restart, or disconnect.
Common power-related patterns include:
- The screen becomes unstable when brightness is increased.
- The display restarts when another USB device is connected.
- The extender works when externally powered but fails on laptop battery.
- The connection is stable directly but unstable through an unpowered hub.
- The problem begins only when multiple screens are active.
Connect any power input specified for the extender and keep the laptop connected to its charger during diagnosis.
Do not judge the power path only by the wattage printed on a charger. The charger, charging cable, hub, laptop port, extender input, and other connected devices all affect the final result.
Also avoid assuming that every INVZI model requires the same power adapter or charger wattage. Follow the instructions for the exact product.
2. Inspect the Cable and Connectors
A cable does not need to fail completely to cause problems. Internal damage, incomplete insertion, connector wear, excessive length, or limited video capability can create an intermittent connection.
Check the cable methodically:
- Disconnect it by holding the connector rather than pulling the wire.
- Inspect both ends for visible damage, bending, or debris.
- Reinsert each connector fully.
- Confirm that each cable is connected to the correct video or power port.
- Remove unnecessary extension cables and adapters.
- Test a known-good replacement with the required video capability.
- Keep the cable free from tension caused by the stand or extender frame.
A USB-C cable may support charging without supporting the video or data path required by the display. INVZI explains this distinction in its guide to why a USB-C cable can charge but not display video.
Stop testing if a port feels physically loose, a connector becomes unusually hot, or normal cable movement repeatedly causes disconnection. Do not force, bend, or hold a damaged connector in position.
3. Remove the Hub or Dock
A hub or dock adds another device to the power, data, and video path. It may also divide available resources between the screen extender and other accessories.
A hub-related problem may occur when:
- Several displays are active.
- A webcam or capture device starts operating.
- External storage is transferring data.
- The laptop changes between battery and charger power.
- The computer wakes from sleep.
- Additional devices are connected to the same hub.
Use an A/B test:
- Connect the extender directly to the laptop.
- Test long enough to determine whether the flickering returns.
- Reconnect the hub with only the extender attached.
- Add the other accessories one at a time.
If the extender is stable when connected directly but unstable through the hub, the problem may involve shared power, bandwidth, display topology, adapter compatibility, or the number of devices attached to one connection.
This does not necessarily mean the hub is defective. The complete configuration may be outside the hub’s supported display or power limits.
4. Confirm the Laptop Port Is Appropriate
USB-C ports can look identical while supporting different functions. One port may carry charging and data only, while another may also support external video.
Check the specifications for the complete laptop model and confirm that the selected port supports the display method required by the extender. Depending on the computer, the relevant specification may refer to DisplayPort Alt Mode, Thunderbolt, USB4, or external display output over USB-C.
For intermittent troubleshooting, make an important distinction:
- If the screen has displayed a stable image before, a compatible video path has existed at least temporarily.
- If the screen has never displayed an image, the problem may be basic port compatibility rather than intermittent stability.
When several USB-C ports are available, test another port only after confirming that it supports the required video connection.
5. Lower the Resolution and Refresh Rate Temporarily
Higher resolution and refresh-rate settings require more display bandwidth. A configuration may connect successfully but become unstable when the laptop, cable, hub, or display path is operating near its limit.
Temporarily return the extender to its documented recommended settings:
- Select a standard supported resolution.
- Test the display.
- Select a standard supported refresh rate.
- Test again.
- Restore optional settings one at a time.
Do not change resolution, refresh rate, scaling, display arrangement, and other settings simultaneously.
The number of active displays also matters. Some laptops can drive one external screen at a particular configuration but require different settings when several displays are connected. This depends on the laptop model, graphics hardware, connection method, and operating system.
6. Check Graphics Drivers and Display Software
The relevant software depends on how the extender receives its video signal.
Native USB-C or HDMI connections
These connections generally depend on the laptop’s graphics driver and operating-system display components. Check for updates from the laptop manufacturer, graphics-hardware provider, or operating-system vendor.
Software-assisted display connections
Some setups use dedicated display software. Only install, update, or reinstall that software when the exact INVZI model or connection method requires it.
Do not install DisplayLink or another display driver as a universal fix. DisplayLink troubleshooting applies only when the actual hardware and connection path use DisplayLink technology.
If the issue began immediately after an operating-system or graphics-driver update, record the version and date. Restart the laptop after any driver or display-software change.
7. Check Sleep, Wake, and Power-Saving Behavior
A display may work normally until the laptop sleeps, the lid is closed, or the computer switches power modes. After waking, the graphics driver, USB controller, or display software may not restore the connection correctly.
On Windows
Test the following:
- Restart Windows instead of using Sleep.
- Reconnect the extender after the restart.
- Confirm that the desktop is set to Extend.
- Check whether the problem occurs only after sleep.
- Temporarily review aggressive USB or power-saving settings for diagnosis.
Restore suitable power-saving settings after testing.
On macOS
Open System Settings > Displays and confirm that the extender remains listed after wake.
Then:
- Disconnect and reconnect the display once.
- Test a full Mac restart.
- Confirm that required display software is running.
- Verify that required permissions remain enabled.
- Check the external-display limits of the exact Mac model and chip.
A problem that occurs only after sleep is not automatically a hardware failure. Test the extender from a full restart with a direct connection first.
Is the Black Screen Temporary or Persistent?
A temporary black screen and a permanently blank display are different fault patterns.
Temporary black screen
If the image disappears for one to three seconds and returns automatically, the display connection may be renegotiating or reconnecting.
Focus on:
- Power stability
- Cable condition
- Hub removal
- Refresh rate
- Sleep and wake behavior
- USB or graphics-driver resets
Persistent black screen
If the screen remains black, determine whether it:
- Has power
- Shows a “No Signal” message
- Appears in Windows or macOS display settings
- Produces a USB disconnect sound
- Displays its own menu or startup screen
A display that remains permanently blank, never appears in the operating system, or consistently shows “No Signal” falls outside the main scope of intermittent flickering troubleshooting.
When the Problem May Be Hardware-Related
Consider a hardware fault only after testing:
- Stable recommended power
- A direct laptop connection
- A known-good compatible cable
- Another compatible laptop port
- Standard display settings
- A full computer restart
- Another compatible computer
Stop troubleshooting and contact support when:
- A port or connector feels physically loose.
- A cable or adapter becomes abnormally hot.
- There is visible connector damage.
- Normal cable movement immediately causes a disconnection.
- The same screen fails with multiple known-good cables.
- The issue follows the extender across multiple compatible computers.
- The screen repeatedly restarts despite stable recommended power.
- Persistent lines, distortion, or backlight instability remain visible.
Do not open the display, attempt an internal repair, or force a damaged connector.
What to Record Before Contacting INVZI Support
Providing complete information can reduce repeated troubleshooting and help identify whether the problem involves the laptop, connection path, software, or extender.
Record the following:
- Exact INVZI model
- Product serial number, when available
- Full laptop manufacturer and model
- Operating-system version
- Processor or Apple chip
- Graphics hardware, when available
- Photo or diagram of the complete connection path
- Cable types and port locations
- Hub or dock model
- Charger or power-source information
- Whether the issue affects one screen or all screens
- Whether the display appears in system settings
- Whether a USB disconnect sound occurs
- Whether the screen recovers automatically
- Approximate time before the problem appears
- Whether the issue occurs on battery power, charger power, or both
- Whether it begins after sleep, increased brightness, or heavy system load
- Whether the fault follows a cable, port, or individual screen
- Results from another compatible computer
- A short video of the flickering, when safe to record
Conclusion
A laptop screen extender that flickers, disconnects, or briefly goes black should be diagnosed in a consistent order:
Power → direct connection → cable → laptop port → display settings → software → hardware
Begin with the simplest supported connection. Provide stable power, remove optional hubs, use the correct cable, and return the displays to standard settings. Test one variable at a time and cross-test with another compatible computer before concluding that the extender has failed.
Because connection requirements vary by model, always follow the documentation for the exact INVZI product. Readers evaluating another multi-screen configuration can review the available INVZI laptop screen extenders and check the stated connection and compatibility requirements for each model.
Frequently Asked Questions
Why is my laptop screen extender flickering?
Laptop screen extender flickering usually indicates an unstable power or video path. Common causes include insufficient USB power, a damaged or unsuitable cable, an overloaded hub, unsupported display settings, or a graphics-driver problem. Start with a direct connection, stable power, moderate brightness, and the recommended resolution and refresh rate.
Why does my screen extender keep disconnecting and reconnecting?
Repeated disconnection often means the USB, video, or power connection is resetting. Remove optional hubs, reseat the cables, connect the required power source, and test another compatible laptop port. A USB disconnect sound suggests that the connection itself is dropping rather than only the image becoming temporarily blank.
Why does the screen go black when I increase the brightness?
Higher brightness can increase the display’s power demand. If the laptop port, cable, hub, or adapter is operating near its limit, the screen may flicker, restart, or go black. Reduce brightness and test the extender with the power arrangement recommended for the exact model.
Can a USB-C hub cause a portable monitor to flicker?
Yes. A USB-C hub may contribute to flickering when it shares insufficient power or bandwidth between several devices, does not support the required display configuration, or introduces an incompatible adapter path. Test the extender directly before reconnecting the hub and other accessories individually.
Why does the extender flicker after my laptop wakes from sleep?
Sleep and wake can leave the graphics driver, USB controller, display software, or monitor connection in an incomplete state. Test a full laptop restart, reconnect the extender directly, and confirm that the correct display mode is active. Check required display software only when the setup uses it.
Can the refresh rate make a screen extender unstable?
Yes. A refresh rate or resolution that exceeds a stable configuration for the laptop, cable, hub, and extender may cause flickering or temporary signal loss. Return to the documented recommended settings and change the resolution and refresh rate separately.
How can I tell whether the cable or the screen is faulty?
Test the screen with a known-good compatible cable, then test the original cable in another working display path. If the problem follows the cable, replace it. If the same screen remains unstable across compatible computers and known-good cables, contact support for further evaluation.
When should I contact INVZI Support?
Contact INVZI Support after testing stable power, a direct connection, a known-good cable, standard display settings, a full restart, and another compatible computer. Stop sooner if a connector is loose, visibly damaged, or unusually hot. Provide the model, laptop details, connection photo, software version, and test results.

Leave a comment
This site is protected by hCaptcha and the hCaptcha Privacy Policy and Terms of Service apply.