


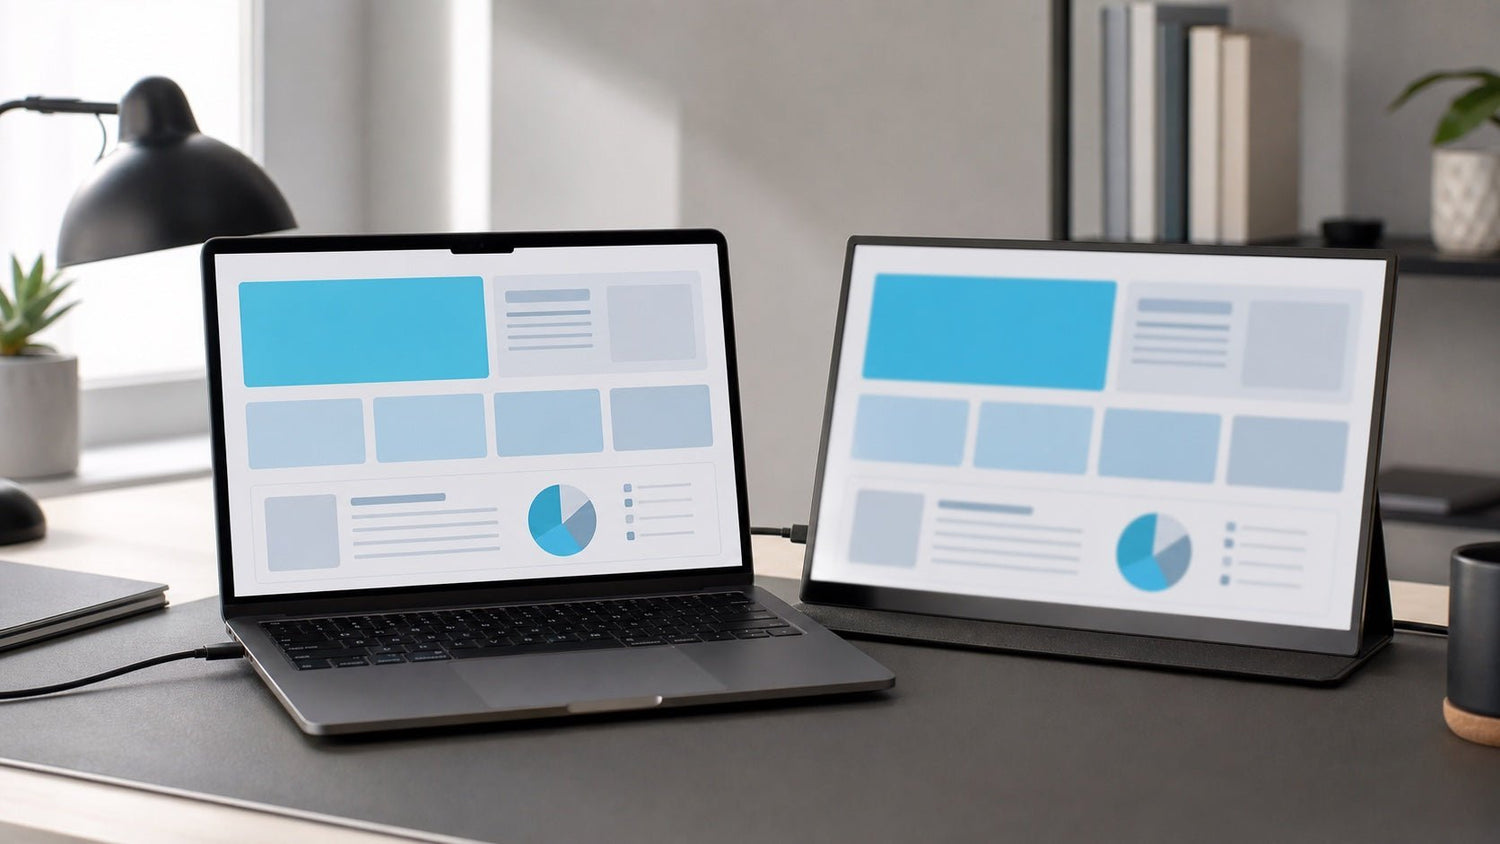
Start with each display’s Recommended or Default setting. In Windows, keep the recommended resolution and set Scale separately for the laptop panel and every extender screen. In macOS, select each display and choose Default or a readable scaled resolution. Reopen any app that remains blurry after moving between screens or changing scale.
One screen looks sharp, another looks slightly soft, and a window suddenly becomes larger when you drag it across the desktop. This common screen extender scaling problem usually comes from a mismatch between screen resolution, physical pixel density, operating-system scaling, and the way an application responds to DPI changes.
Resolution, scaling, text size, and application zoom are separate controls. For example, lowering the display resolution changes the image sent to the entire panel. Scaling normally keeps the selected resolution intact while enlarging interface elements such as text, icons, menus, and buttons.
This guide assumes that the laptop display and every extender screen are powered, connected, and visible in Windows or macOS display settings.

Quick Diagnosis: Is It Resolution, Scaling, or an App Problem?
Identify the symptom before changing any settings. Adjusting resolution, scaling, text size, and application zoom at the same time can hide the real cause.
| Symptom | Most likely cause | First setting to check |
|---|---|---|
| Text, icons, images, and window edges all look soft or stretched | The screen is not using its recommended resolution | Display resolution |
| The image is sharp, but text and controls are too small or too large | The display scale is unsuitable for that screen | Scale for the selected display |
| A window stays sharp but changes physical size when moved between screens | The displays use different scale factors | Scale settings for both displays |
| Windows looks sharp, but one application becomes blurry on another screen | The application does not fully support per-monitor DPI changes | Close and reopen the application |
| Only a webpage, spreadsheet, PDF, or design canvas is the wrong size | Application-level zoom | Zoom inside that application |
| A screen is absent, black, disconnected, or showing “No Signal” | Detection, signal, power, port, cable, or driver issue | Use a separate detection workflow |
A simple visual test can narrow the issue quickly:
- Look at text, photographs, icons, and window borders.
- If everything appears soft, check the screen resolution.
- If edges are sharp but the interface is the wrong size, check scaling.
- If only one application is blurred, restart that application on the screen where you intend to use it.
- If the screen is not visible in display settings, do not change scaling yet.
Microsoft recommends using the display resolution marked Recommended. Lower resolutions may make text less sharp and can produce a stretched, bordered, centered, or undersized image.
Why Laptop Screens and Screen Extenders Scale Differently
Two displays can show the same number of pixels while producing very different physical text sizes.
A compact laptop panel and a larger external screen may both use a resolution such as 1920 × 1080. Because the pixels are packed into different physical areas, the smaller panel generally has a higher pixel density. It may therefore need a larger interface scale to remain readable.
The following terms describe different parts of the display process.
Physical size and pixel density
Physical size describes the panel’s dimensions. Pixel density, usually measured in pixels per inch or PPI, describes how closely the panel’s physical pixels are packed together.
A higher-PPI display can produce finer details, but text rendered at 100% scaling may appear physically smaller.
Native or recommended resolution
A display’s native resolution corresponds to its physical pixel grid. In Windows, the appropriate option is normally marked Recommended.
Using a lower resolution to make text larger can reduce clarity because the display must rescale the complete image.
DPI scaling or scale factor
DPI scaling controls how large the operating system renders interface elements. It does not describe the physical density of the panel.
In practical terms:
- PPI describes the panel.
- Scaling determines how large the interface appears on that panel.
Application zoom
Application zoom changes content within one program. Browser zoom, spreadsheet zoom, PDF magnification, and design-canvas zoom do not change Windows or macOS interface scaling.
Per-monitor DPI awareness
Windows can assign different scale factors to different displays. Applications designed for per-monitor DPI changes can redraw themselves when moved to another screen. Older applications may instead be bitmap-scaled by Windows, which can make them appear blurry or incorrectly sized.
How to Fix Blurry Text and Scaling in Windows 11
Change one screen and one setting at a time.
1. Open Windows Display settings
Go to:
Start > Settings > System > Display
The diagram at the top represents the laptop panel and every connected screen.
2. Identify the screen you are changing
Select Identify to display a number on each physical screen.
Click the numbered display you want to adjust before changing its resolution or scale. Otherwise, you may accidentally change the laptop panel instead of the extender.
3. Use the recommended resolution
Under Scale & layout, find Display resolution.
Choose the option marked Recommended. Repeat this for each connected screen because different panels may support different native resolutions.
Do not assume that every screen in a multi-display setup should use the same resolution. Check the specifications for your exact INVZI model rather than selecting a resolution based only on another screen or product.
4. Start with the recommended scale
With the correct display still selected, open the Scale menu.
Start with the percentage marked Recommended. Windows determines this value based on the selected screen and its display characteristics. Microsoft recommends both the Scale and Display resolution options marked Recommended whenever possible.
The laptop panel and extender do not need matching percentages. For example, a high-density laptop display might require more scaling than a larger external panel.
The objective is similar physical readability across screens—not identical settings.
5. Repeat the process for every display
Create a simple record while testing:
| Display | Resolution | Scale |
|---|---|---|
| Laptop display | Recommended value | Recommended value |
| Extender screen 1 | Recommended value | Recommended value |
| Extender screen 2 | Recommended value | Recommended value |
Move the Settings window between the displays and compare:
- Text sharpness
- Menu and button size
- Window dimensions
- Amount of usable workspace
Change only one value before comparing again.
6. Reopen applications that remain blurry
Move the affected application to the screen where you normally use it. Close it completely, then reopen it.
Some applications determine their initial DPI when they launch. Reopening the program can force it to render for the scale factor of the current display.
This is a workaround rather than a permanent fix for software that lacks full per-monitor DPI support.
7. Separate text size from display scaling
When the complete interface looks correctly sized but text remains difficult to read, open:
Settings > Accessibility > Text size
The Text size control enlarges supported text without necessarily enlarging every image, panel, or application control. Windows treats text size and overall display Scale as different accessibility settings.
Use this after configuring resolution and display scaling, not as a substitute for either setting.
8. Use ClearType only for text-edge problems
If the resolution and scale are correct but letter edges still appear uneven, search Windows for:
Adjust ClearType text
Complete the ClearType Text Tuner on the display you are evaluating. ClearType can improve the rendering of text, but it cannot correct a complete screen running at the wrong resolution or an application being bitmap-scaled.
9. Sign out only when necessary
Reopening the affected application should be the first step.
If several applications remain incorrectly sized or blurry after connecting, disconnecting, or changing display scaling, sign out of Windows and sign back in. Microsoft documents signing out as a possible fix for some external-monitor scaling problems in Office applications.
10. Treat custom scaling as a last resort
Standard and Recommended scale values are easier to test and maintain across multiple displays.
Custom scaling can create new problems, including:
- Oversized dialogs
- Controls that no longer fit
- Inconsistent application behavior
- More difficult troubleshooting after reconnecting a display
Record the original settings before testing a custom percentage or an application compatibility override.
Do Not Lower Resolution Just to Make Text Larger
Lowering resolution can make the desktop appear larger, but it changes the complete image rather than only the interface size.
On Windows, the better sequence is:
- Set Display resolution to Recommended.
- Set Scale to Recommended.
- Test another standard Scale value if the recommended value is uncomfortable.
- Adjust Text size separately when only text needs to be larger.
This preserves the panel’s intended pixel mapping while giving you control over readability. Microsoft warns that resolutions below the native setting may reduce sharpness or produce stretching and borders.
How to Fix Mismatched Scaling in Windows 10
The troubleshooting logic in Windows 10 is similar:
- Open Start > Settings > System > Display.
- Select the screen you want to adjust.
- Under Scale and layout, set Display resolution to the Recommended option.
- Set Change the size of text, apps, and other items to the Recommended value.
- Repeat for each screen.
- Close and reopen any application that remains blurry.
Microsoft ended support for Windows 10 on October 14, 2025. Windows 10 PCs continue to function, and an Extended Security Updates program may be available for eligible systems, but Microsoft recommends moving to Windows 11 for ongoing support.
The steps above remain useful for legacy systems, but menu behavior and application support may vary by Windows 10 version.
How to Fix Mismatched Scaling on macOS
macOS presents display-size choices differently from Windows.
Rather than using the same 100%, 125%, and 150% labels, macOS normally offers a Default setting and several resolution choices that balance readable interface size against available workspace.
1. Open Displays settings
Go to:
Apple menu > System Settings > Displays
Select the external display you want to adjust.
2. Start with Default
Choose Default when available. Apple describes this as the setting that automatically uses the best resolution for the selected display.
Evaluate:
- Text clarity
- Interface size
- Available workspace
- Window fit
3. Test a scaled resolution
Choose another displayed option when the Default setting makes text too small or leaves too little usable space.
Depending on the macOS version and connected display, the choices may appear as thumbnails, a list of resolutions, or options such as Larger Text and More Space.
Do not judge the result only by the resolution label. Compare text sharpness, interface size, workspace, and application behavior together.
4. Show additional resolutions when necessary
Apple provides options such as Show resolutions as list and, for some external displays, Show all resolutions.
Additional modes may include low-resolution or less suitable options. Apple also notes that some scaled resolutions can affect performance or cause application windows not to fit completely on the screen.
5. Configure each display separately
Select the laptop display and each connected screen one at a time.
The screens do not need to show the same resolution label. The goal is a readable, visually consistent workspace on each physical panel.
6. Reopen affected applications
When the operating system looks clear but one application remains blurry, close and reopen that application after changing the display setting.
Also check the app’s own zoom or interface-size controls before changing the system display again.
Why an App Becomes Blurry When You Move It Between Screens
Windows applications can respond to display scaling in several ways.
| Application behavior | Likely explanation |
|---|---|
| The app remains sharp and resizes correctly | It supports per-monitor DPI changes |
| The app becomes blurry after moving | Windows may be bitmap-scaling an interface created for another DPI |
| The app stays sharp but its controls become too large or small | The app received the DPI change but did not resize its layout correctly |
| The app looks wrong until it is restarted | It may calculate DPI only during launch |
DPI-unaware applications are rendered at a fixed scale and enlarged by Windows when necessary. System-DPI-aware applications can remain sharp at one scale factor but become blurry after being moved to a display with a different factor. Per-monitor-DPI-aware applications can respond to the change and redraw their interfaces.
Try the following sequence:
- Move the application to the screen where it will normally be used.
- Close the application completely.
- Reopen it on that screen.
- Install an official update for the application.
- Check for an in-app interface scale or zoom option.
- Test a Windows compatibility setting only when an older app still fails.
Compatibility overrides may improve one symptom while introducing another, such as softer text, clipped dialogs, or incorrectly sized controls. Record the original option before changing it.
How to Compare 100%, 125%, and 150% Scaling
Start with the value marked Recommended. The percentages below are comparison points, not universal recommendations.
| Scale | When to test it | What to watch for |
|---|---|---|
| Recommended | Always test this first | Usually provides the operating system’s intended balance of size and workspace |
| 100% | The interface appears unnecessarily large | Text may become uncomfortable on compact or high-density panels |
| 125% | 100% is sharp but too small | Some older applications may blur or resize poorly |
| 150% | Readability is more important than maximum workspace | Large dialogs, timelines, and tool panels may occupy too much of the screen |
For a 1080p screen, do not assume that 100% is automatically correct. Physical panel size, viewing distance, eyesight, application layout, and the density of the laptop screen beside it all affect the most comfortable setting.
Once text size is consistent, check the position and viewing distance of every panel. Matching scale does not correct a screen that is too high, too low, too far away, or angled sharply. The separate guide to ergonomic tips for working with triple-screen extenders covers positioning, posture, and visual comfort.
Common Fixes That Often Make the Problem Worse
Lowering resolution to enlarge text
This can enlarge the complete desktop but may reduce sharpness because the image no longer maps cleanly to the panel’s pixel grid.
Forcing every display to use the same scale
Displays with different physical sizes and pixel densities may need different scale factors to produce similar physical text sizes.
Using browser zoom as a system-wide fix
Browser zoom changes webpage content. It does not correct Windows menus, desktop icons, other applications, or macOS display scaling.
Enabling custom scaling immediately
Custom values make it harder to compare screens and may create inconsistent behavior in older applications. Test the Recommended and standard values first.
Changing multiple settings at once
If resolution, scale, text size, application zoom, and compatibility settings change together, it becomes difficult to identify which change helped.
Assuming blur means defective hardware
A stable display can look soft because it is using a non-recommended resolution or showing an application that Windows has bitmap-scaled.
Copying settings from another computer
A value that works on one laptop and extender combination may be unsuitable for another setup with different panel sizes and resolutions.
A Practical Order for Matching Multiple Laptop Screens
Use this sequence whenever you reconnect or reconfigure the workspace:
- Confirm that all displays are detected.
- Set each Windows screen to its Recommended resolution, or start with Default on macOS.
- Arrange the numbered displays to match their physical positions.
- Start with the Recommended scale on each Windows display.
- Compare physical text and interface sizes rather than percentage values.
- Adjust text size separately only when necessary.
- Reopen applications that remain blurry.
- Test one application at a time.
- Record the working settings for each display.
This order separates system-wide display problems from application-specific behavior.
When Scaling Is Not the Real Problem
Scaling cannot fix a screen that:
- Is missing from display settings
- Shows “No Signal”
- Disconnects repeatedly
- Flickers or goes black
- Receives power but no picture
- Leaves one extender panel inactive
Those symptoms point to a detection, power, input, cable, port, driver, permission, or display-limit problem.
When the external display is absent from Windows or macOS settings, use the dedicated screen extender not detected troubleshooting guide instead of changing DPI or text-size controls.
Frequently Asked Questions
Why is text blurry on my screen extender?
Text is usually blurry because the screen is not using its recommended resolution or because an application was rendered for a different display scale. Set the extender to its Recommended resolution first. If the complete desktop becomes sharp but one application remains blurry, move the app to the target display, close it, and reopen it.
Should I change resolution or scaling to make text larger?
In Windows, keep the Recommended resolution and change Scale. This enlarges interface elements without intentionally reducing the screen’s pixel resolution. In macOS, select the display and compare Default with the available scaled-resolution choices. Use application zoom only when content inside one program—not the full interface—is too small.
Why do windows change size when I move them between screens?
The screens use different effective scale factors. Windows resizes compatible applications to maintain readable interface dimensions on each display. A properly per-monitor-DPI-aware application redraws itself clearly. An older application may become blurry, remain the wrong size, or need to be reopened after it moves.
Can each monitor use a different scaling percentage in Windows?
Yes. Different percentages are normal when the laptop panel and extender have different physical sizes or pixel densities. Select each numbered display under Settings > System > Display and configure its Scale independently. The objective is similar physical readability across screens—not identical percentages.
Why is only one application blurry on my external screen?
The program may not fully support per-monitor DPI changes. Move it to the external screen, close it completely, and reopen it. Then install any official application updates and check its interface-scale setting. Use Windows compatibility overrides only after these steps because an override can reduce sharpness or cause controls to fit incorrectly.
What scaling should I use for a 1080p laptop screen extender?
Use the resolution and Scale values marked Recommended first. A 1080p panel may be comfortable at 100%, 125%, 150%, or another supported value depending on its physical size, viewing distance, and the laptop display beside it. Confirm the listed resolution for your exact extender model before selecting a setting.
Why does my Mac show different resolution options for an external display?
macOS provides display-specific Default and scaled-resolution choices. The available options depend on the connected screen and the Mac. Select the external display under System Settings > Displays, start with Default, and choose another option only when you need larger text or more workspace.
Conclusion
The correct troubleshooting order is straightforward:
- Use the Recommended or Default resolution.
- Configure each screen separately.
- Adjust interface scaling rather than lowering Windows resolution.
- Reopen applications after DPI changes.
- Treat detection and signal failures as separate problems.
Matching multiple screens does not require identical resolution or scale values. The correct configuration is the one that keeps text sharp, makes controls physically readable, and gives each application enough usable space.
After identifying the resolution, scaling, and software requirements for your workspace, review the available INVZI laptop screen extenders to compare multi-screen formats suited to your laptop and workflow.

Leave a comment
This site is protected by hCaptcha and the hCaptcha Privacy Policy and Terms of Service apply.