


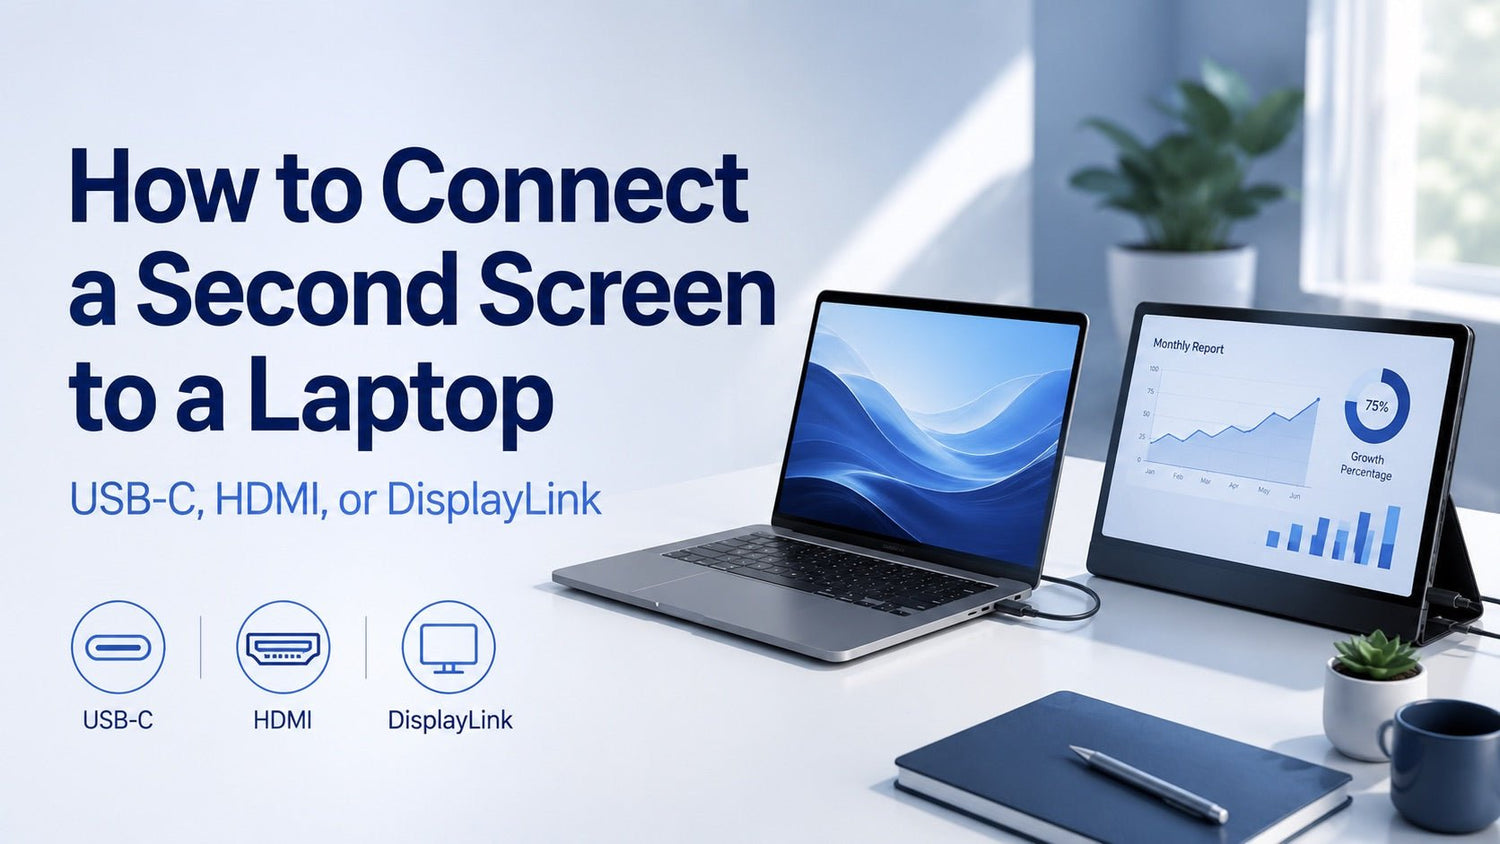
Connecting a second screen to your laptop is a simple way to create more desktop space without replacing your existing computer. Whether you're using a desktop monitor or a portable display, the process usually comes down to choosing a compatible connection and adjusting a few display settings.
You can connect a second screen using HDMI, USB-C, or a compatible DisplayLink adapter. The right method depends on your laptop's video output capabilities and the connections available on your monitor.
This guide explains how to connect your second screen, extend your desktop on Windows 11 or macOS, and resolve basic connection problems.
How to Connect a Second Screen to Your Laptop in 4 Steps
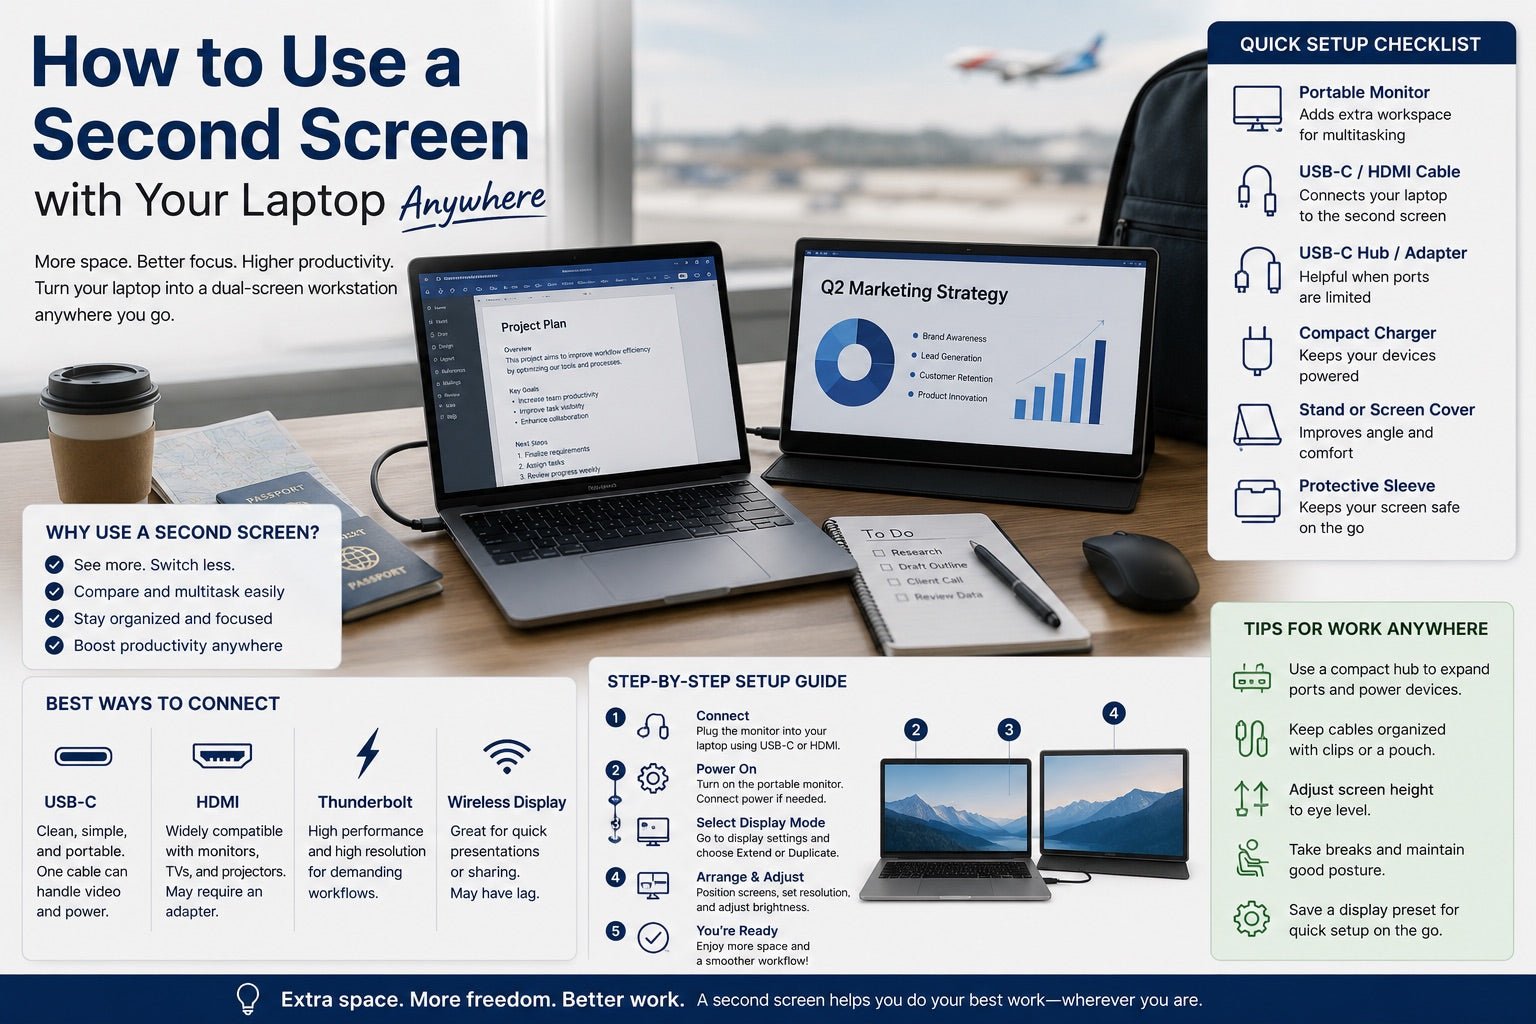
To connect a second screen to your laptop, identify a supported video port, connect the monitor with a compatible cable, and enable extended display mode in your system settings.
Follow these four steps:
-
Check your laptop's video ports. Look for HDMI, DisplayPort, or a USB-C port that supports video output.
-
Connect your second screen. Use a compatible HDMI or USB-C cable, or the appropriate video adapter.
-
Turn on the external display. Connect its power supply if needed and select the correct input source.
-
Extend your desktop. On Windows 11, press Windows + P and select Extend. On macOS, open System Settings > Displays and choose the extended display option.
Once the second screen is recognized, you can move application windows between your laptop and external monitor.
If both displays show identical content, your system is probably using duplicate or mirror mode. Switching to extended display mode gives each screen its own desktop space.
Before Connecting: Check Your Ports and Cable
Before connecting your laptop to an external monitor, check the available ports on both devices.
Most modern laptops use one or more of these connections:
-
HDMI: A common video connection for monitors, TVs, and projectors.
-
USB-C: Can carry video on compatible laptops, although not every USB-C port supports display output.
-
Thunderbolt or USB4: Can support external displays through compatible connections, cables, and devices.
-
DisplayPort: A dedicated video interface found on some laptops and external monitors.
Your laptop and monitor don't necessarily need identical connectors. For example, a laptop with USB-C video output can connect to an HDMI monitor through a compatible USB-C-to-HDMI adapter.
However, an adapter must support the video capabilities of the connected devices. A conventional USB-C-to-HDMI adapter cannot create native video output from a USB-C port that only supports charging and data.
Check USB-C Video Support Before Connecting
If you plan to use USB-C, check your laptop's official specifications for a supported display technology such as DisplayPort Alt Mode, Thunderbolt, or USB4 with video output.
You also need a suitable cable and a compatible video input on the monitor.
USB-C ports may look identical while offering different capabilities. Charging through a USB-C port does not necessarily mean that it supports an external display.
For additional technical information, refer to VESA's DisplayPort over USB-C documentation.
Make Sure Your Monitor Has Enough Power
Desktop monitors typically require their own power supply.
Some portable monitors can receive both video and power from a compatible laptop through one USB-C cable. Others need a separate USB power connection.
Before connecting, check the monitor's power requirements. If a portable display requires more power than the laptop port can supply, it may fail to start or disconnect unexpectedly.
With the correct ports, cable, and power connection identified, you're ready to connect the screen.
Connect a Second Screen to a Laptop Using HDMI
HDMI provides a direct way to connect an external monitor when your laptop and display both have compatible HDMI ports.
Most Windows laptops and Macs with HDMI output can recognize a supported external monitor without installing additional display software.
Step 1: Connect the HDMI Cable
Plug one end of the HDMI cable into your laptop's HDMI output.
Connect the other end to an HDMI input on your external monitor.
Make sure both ends are firmly connected.
Step 2: Turn On the External Monitor
Connect the monitor to its power source and turn it on.
If the monitor has more than one input, use its input or source menu to select the HDMI port you're using.
For example, a monitor with HDMI 1 and HDMI 2 inputs must be set to the input where your cable is connected.
Step 3: Enable the Second Display
Your laptop should normally recognize the monitor automatically.
Open your operating system's display settings and select the option to extend your desktop.
On Windows 11, press Windows + P and choose Extend.
On macOS, open System Settings > Displays and make sure the external display is configured to extend rather than mirror your desktop.
Step 4: Check the Display Arrangement
Move your mouse pointer toward the external screen.
If the pointer moves in the wrong direction, adjust the display arrangement in your operating system's settings.
You can also move an application window onto the second screen to confirm that the extended desktop is working.
What If Your Laptop Doesn't Have an HDMI Port?
If your laptop has no HDMI output but supports video through USB-C, connect the external monitor using a compatible USB-C-to-HDMI adapter.
The connection follows this path:
Laptop USB-C video output → USB-C-to-HDMI adapter → HDMI cable → External monitor
Check the adapter's specifications to confirm that it supports your laptop and monitor.
Connect a Second Screen to a Laptop Using USB-C
USB-C can provide a convenient connection for a compatible external monitor, particularly when you want to avoid using an additional video adapter.
With the right equipment, a single USB-C cable may carry both the video signal and power required by a portable display.
The important requirement is compatibility across the laptop, cable, and monitor.
Step 1: Confirm That Your Laptop Supports USB-C Video
Check your laptop's specifications to make sure the USB-C port supports video output.
Look for support for DisplayPort Alt Mode, Thunderbolt, or an appropriate USB4 video connection.
If your laptop has multiple USB-C ports, check whether the port you plan to use supports external displays.
Step 2: Choose a Video-Capable USB-C Cable
Use a USB-C cable designed to carry the required video signal.
A cable supplied with a charger may support power delivery but not video.
When possible, use the cable recommended by your monitor's manufacturer or a cable with clearly documented display capabilities.
Step 3: Connect Your Laptop and Monitor
Connect one end of the USB-C cable to your laptop's compatible video port.
Connect the other end to the monitor's USB-C video input.
Turn on the monitor and connect any additional power supply it requires.
Step 4: Enable Extended Display Mode
Once your laptop recognizes the monitor, open its display settings and select extended desktop mode.
You should now be able to drag windows from your laptop screen onto the external display.
If you want the same content on both screens, use mirroring or duplication instead.
Connection tip: If your USB-C cable provides power but the monitor shows no image, the port, cable, or monitor input may not support the required video connection. For a detailed diagnosis, read why a USB-C cable charges but doesn't display video.
Connect a Second Screen with a DisplayLink Adapter When Needed
If your laptop cannot support the required external display through its native video outputs, a compatible DisplayLink adapter or docking station may provide another connection option.
DisplayLink uses software and compatible USB graphics hardware to send display content to an external monitor.
Unlike a standard HDMI connection, this method requires specifically supported hardware and software.
Step 1: Check DisplayLink Compatibility
Confirm that your adapter or docking station explicitly supports DisplayLink.
A standard USB hub or USB-C-to-HDMI adapter is not automatically a DisplayLink device.
Check the manufacturer's compatibility information for your laptop and operating system.
Step 2: Connect the DisplayLink Hardware
Connect the DisplayLink-compatible adapter or docking station to the appropriate USB port on your laptop.
Then connect the external monitor to the adapter or docking station using its supported display output.
Step 3: Install the Required Software
Follow the device manufacturer's instructions to install the appropriate DisplayLink software.
On macOS, DisplayLink Manager requires Screen Recording permission to provide the display content needed by the connected hardware. Depending on the software version, you may also need to approve background activity.
Follow the official DisplayLink Manager setup instructions for the required configuration.
Step 4: Configure the External Display
After completing the installation, open your operating system's display settings.
Select extended display mode, confirm the monitor is recognized, and adjust its position.
For a more detailed explanation of the technology, see our guide to how DisplayLink works.
Note: DisplayLink is a software-assisted connection method, and its performance and application compatibility may differ from native video output. Use the connection method recommended for your hardware and workflow.
How to Extend Your Second Screen on Windows 11
Once the monitor is connected, Windows 11 provides several ways to control what appears on each screen.
Step 1: Press Windows + P
Press Windows + P to open the display projection menu.
You'll see four options:
| Display Mode | What It Does |
|---|---|
| PC screen only | Uses your laptop's built-in display |
| Duplicate | Shows the same desktop on both screens |
| Extend | Creates a desktop that spans both screens |
| Second screen only | Uses the external monitor instead of the laptop display |
Choose Extend to use the second monitor as additional desktop space.
Step 2: Arrange Your Screens
Open:
Settings > System > Display
Windows should show numbered rectangles representing your connected displays.
Select Identify to see which number corresponds to each physical screen.
Drag the rectangles to match their positions on your desk.
For example, if the external monitor is on the right side of your laptop, place its rectangle to the right of the laptop display.
Select Apply to save the arrangement.
Now, moving your pointer toward the right edge of your laptop screen should take it onto the second monitor.
Step 3: Set Your Main Display
If you'd prefer to use the external monitor as your primary display:
-
Open Settings > System > Display.
-
Select the external monitor.
-
Expand Multiple displays if necessary.
-
Select Make this my main display.
Windows will use your selected monitor for primary desktop functions.
Step 4: Adjust Resolution and Scaling
Select the external monitor in Display settings.
Review the available resolution and scaling options.
The recommended resolution is generally a good starting point for clear text and images.
If application text appears too small or large, adjust scaling for that display.
You can follow Microsoft's official multiple-monitor instructions for additional guidance.
How to Extend Your Second Screen on macOS
Mac laptops can also extend their desktop onto a compatible external monitor.
The exact display capabilities depend on the Mac model, available ports, and supported external display configuration.
Step 1: Connect the External Monitor
Connect your monitor using a supported HDMI, Thunderbolt, or USB-C video connection.
Turn on the monitor and provide external power if required.
Your Mac should normally recognize the connected display automatically.
If macOS asks you to allow a newly connected accessory, approve the connection when you recognize and trust the device.
Step 2: Open Display Settings
On your Mac, go to:
Apple Menu > System Settings > Displays
You should see your Mac's built-in display and the connected external monitor.
Select the external display to review its available settings.
Step 3: Enable Extended Display Mode
Choose the Use as menu for the external monitor.
Select Extended display.
This lets the monitor show different windows from your MacBook screen.
If you want identical content on both screens, choose the relevant mirroring option instead.
The available options may vary depending on your Mac model, macOS version, and connected display.
Step 4: Arrange the Displays
In Displays settings, choose Arrange if the control is available.
Move the display representations to match the physical positions of your screens.
For example, if the monitor is positioned to the left of your MacBook, arrange it on the left.
You can also select which screen acts as the main display using the available Use as options.
Step 5: Review Resolution Settings
Select the external monitor and review its resolution options.
Use the default resolution initially, then adjust the scaling if the text or interface size is uncomfortable.
If the monitor isn't detected, open Displays settings and hold the Option key to reveal Detect Displays, then select it.
For additional details, see Apple's guide to extending or mirroring your Mac desktop.
What to Check If Your Second Screen Does Not Appear
If your laptop doesn't recognize the external monitor, start with a few basic checks before changing advanced settings.
1. Confirm the Monitor Is Powered On
Make sure the screen is turned on and receiving sufficient power.
If you're using HDMI, confirm that the monitor is set to the correct HDMI input.
For a portable USB-C monitor, check whether it requires a separate power connection.
2. Reconnect the Cable
Disconnect and reconnect the video cable at both ends.
If possible, try another known-working, compatible cable.
If you're using an adapter or docking station, test a supported direct connection to the laptop to help identify whether the accessory is causing the problem.
3. Check Your Display Settings
On Windows 11, go to:
Settings > System > Display > Multiple displays > Detect
On macOS, go to:
System Settings > Displays
Hold the Option key to reveal the Detect Displays button.
4. Verify Video Compatibility
If the monitor still doesn't appear, check whether your laptop's output, the cable, and the monitor's input support the same video connection.
For USB-C, the connector shape alone does not confirm display support.
For DisplayLink, confirm that the correct software is installed and the required permissions are enabled.
If these checks don't resolve the issue, read our detailed guide to troubleshooting an external monitor that isn't detected.
Frequently Asked Questions
1. How do I switch my second screen from duplicate to extend?
On Windows 11, press Windows + P and select Extend.
On macOS, open System Settings > Displays, select the external display, and choose Extended display under Use as.
Extended display mode allows you to move windows between your laptop and monitor instead of showing identical content on both.
2. Can I connect a second monitor without an HDMI port?
Yes. If your laptop has a USB-C or Thunderbolt port that supports video output, you may be able to connect a compatible USB-C monitor directly or use a suitable USB-C-to-HDMI adapter.
The laptop's port must support the required video connection. A USB-C port designed only for charging or data won't work with a conventional video adapter.
3. Why does my second screen show only the desktop background?
This usually means your second screen is working in extended desktop mode, but no application windows have been moved onto it yet.
Move your mouse pointer onto the external monitor, then drag an application window from your laptop screen to the second screen.
If the window doesn't move in the expected direction, check your display arrangement settings.
4. Does my external monitor need a separate power source?
It depends on the monitor.
Most desktop monitors require a dedicated power supply. Some portable monitors can receive power directly from a compatible laptop through USB-C.
Check your monitor's power requirements and your laptop's available USB-C power output before relying on a single cable.
5. Do I need software to connect a second screen to my laptop?
For most standard HDMI and native USB-C video connections, you don't need additional display software beyond the operating system's existing graphics support.
However, DisplayLink adapters require compatible DisplayLink software. Some specialized docks and screen extenders may also need manufacturer-specific software or drivers.
Always follow the instructions supplied with your device.
Final Thoughts
Connecting a second screen to your laptop doesn't have to be complicated.
Start by checking your laptop's video output capabilities and your monitor's available inputs. Connect the devices with a compatible cable or adapter, make sure the monitor has power, and enable extended desktop mode in Windows 11 or macOS.
For a standard external monitor, HDMI or a supported USB-C video connection will usually provide the most straightforward setup. When native display output doesn't meet your requirements, compatible DisplayLink hardware may offer another option.
Once the second screen is connected, you can arrange your displays and move windows between them to make better use of your available desktop space.
If your work eventually requires more than one additional display, you can explore INVZI portable laptop screen extenders for different MagHub display configurations.
Before choosing a screen extender, check the specific model's laptop compatibility, connection requirements, power needs, and software requirements to make sure it fits your setup.

Leave a comment
This site is protected by hCaptcha and the hCaptcha Privacy Policy and Terms of Service apply.